Container Shed Ideas


Today's blog is written by a Super Cubes' customer from Northeast Minnesota. I was so excited to see pictures of the final product that I asked him to share how he made his beautiful container shed. We talked about using Super Cubes kits for the doors and windows, but he made the right call to do it himself with much more beautiful options that he found himself. Check out the slideshow at the bottom of the post for more pictures.
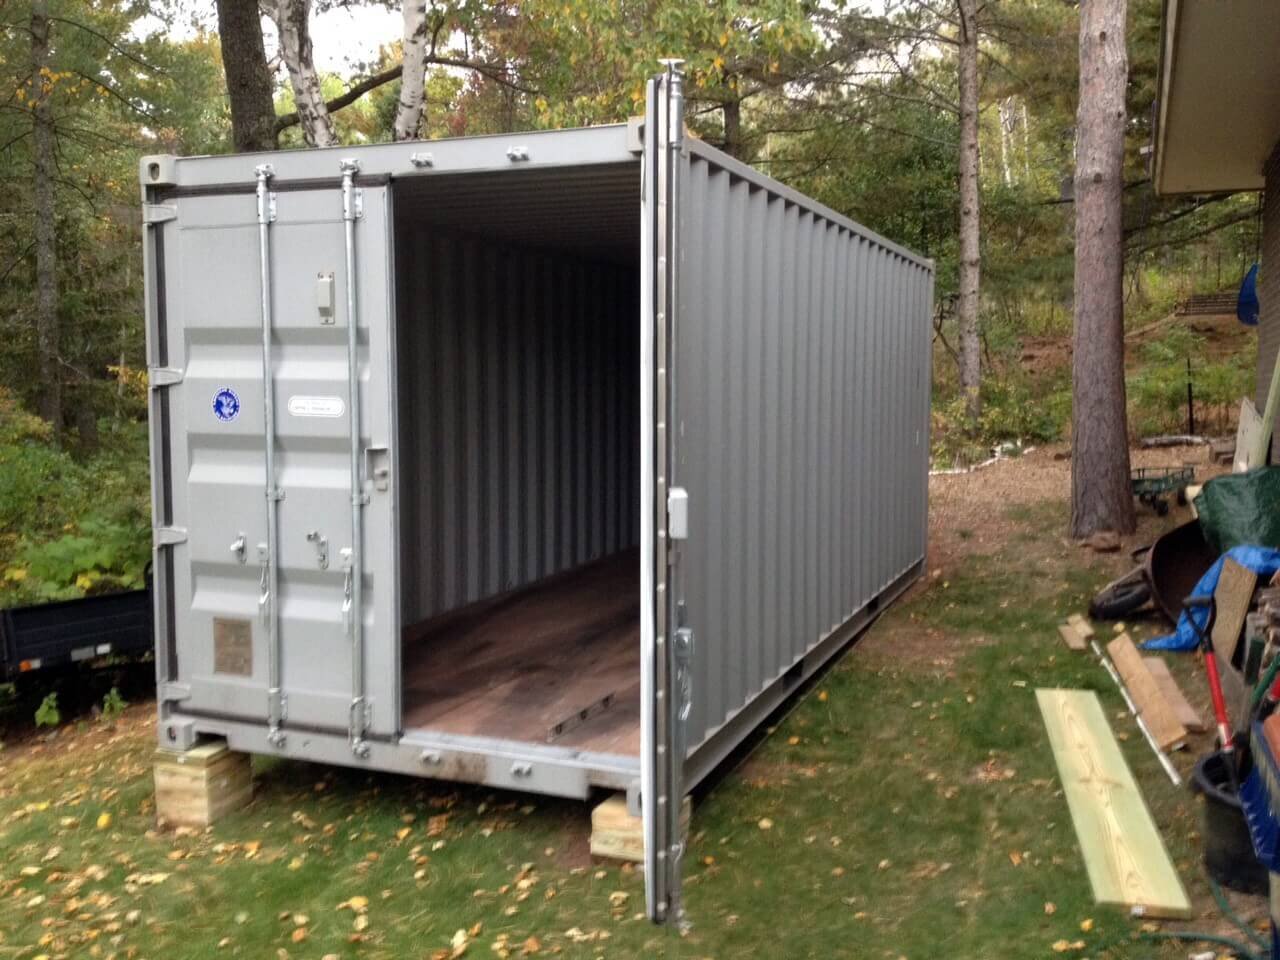
We purchased a 20' one-trip container from Super Cubes, with the idea to convert it into a shed for garden implements, seasonal storage (swapping bicycles for a snow-blower), lumber, and camping and rec gear. We initially sketched out some plans for a new shed and interviewed several contractors to build what we wanted. But it seemed none of them had a very good idea about how to build something functional yet interesting to look at, and then we hit upon the idea of converting a used shipping container. It turns out our house is sort of box-like, on several levels—much in the style of Frank Lloyd Wright—including a vertical board-and-batten exterior, so a container not only provided a bomb-proof, ready-made basic unit, but it had built in the vertical lines that could complement the house. All we had to do was get it to the property and start cutting in some windows and a door.
Super Cubes made it very easy for us to ‘pick out’ the right container even without making a visit by providing good photos of a container that Julia had picked out for us. That was very helpful and we avoided a special trip to the Twin Cities. Unfortunately, we live a couple of hours away from the Cities and had to make some special delivery plans. We hired a local auto transport company that has a flat-bed truck with a tilt bed and winch. They made the trip down to Super Cubes and picked up our pre-purchased container without a hitch.
The truck arrived on schedule, backed up a rather steep driveway, and maneuvered into place. The container was going to be set on an area of relatively flat grass at the top of the driveway and next to the house with a separation of about 8 feet. Before the truck arrived, I had laid out the right position with string and pegs. I wanted the container to be parallel with the house line, so measured out the rectangular ‘footprint’ of the container very carefully and marked it with string. Because the ground was not quite level, I also used the string lines and a level to show me where the ground had to be cut away slightly in order for the container to sit flat.
The last thing to do was to make a foundation. Because the area drains well, I decided to use wooden blocks at each corner. The loads in the container would not be great with our contents, so I figured the container structure itself would be sound. Using 2" x 12" stock of treated lumber, I cut 12" x 12" squares, and then stacked them in the four corners, using the appropriate number in each corner to make the final foundation level.
The next trick was for the delivery driver to land the container on the pre-positioned wooden corner blocks. Working only with the pneumatic lift of the bed and the winch, he slowly slid the container exactly onto the wooden corner blocks, occasionally laying some lumber underneath to provide support while he made ‘adjustments’ in the position. In the end, the container had come to rest just where I wanted it! He was rightly proud of his ability to land the container within what seemed a millimeter of the planned position.
So then, just to make some modifications. We decided we wanted one ‘man-door’ in the side for easy day-to-day entry, plus a couple of windows. We also wanted a roof with a substantial eave to complement the house design, and we wanted to roof to have a gentle pitch to shed water (we collect rain water for gardens). We did hire a contractor to make the structural modifications, and I did the finish trim and painting.
To make the roof, we designed a conventional wooden frame like you would use to support a deck — 2" x 6" joists on 18" centers, covered by plywood sheathing and then poly-rubber membrane. The frame was simply glued to the container using construction-grade cement in order to avoid penetrating the container with bolt-holes. The area is fairly protected by trees, so we don’t expect much wind load. A proper eave, fascia and drip edge were included, as well as venting in the eaves to allow air circulation into the roof structure. We did not insulate the roof because the shed will be un-heated.
Next came the door and windows. We got a great deal on some Anderson windows that were on sale—vinyl-clad, thermal pane, with screens and easy latching so simply ordered the sizes we wanted. One facing the driveway, which you see most of the time, has a vertical orientation and we offset it to one side to give a little dynamic look. This was planned for the fixed end of the container. The other window was placed on a side at the end near the container doors to provide light and cross-ventilation. Then we ordered a door finished in fiberglass and primed for paint.
All we had to do was get some frames made for the windows and doors, cut some openings, and weld in the frames. Easy, right? I marked out where we wanted the openings with painter’s tape. We hired a local fabricator to make steel frames out of 2" square stock and measured to fit the window and door opening specs. We had to use the 2" dimension because of the ‘corrugations’ in the container walls. With the finished frames in hand, the contractor marked the openings to be cut and did the job with a heavy-duty hand-held circular metal saw. Sparks were flying! Welding in the frames seemed to take no time at all. Once the steel frames were secure, I primed all the bare metal for later finish painting. Now it was just a matter of mounting the windows and door into their frames using screws and construction glue, and then finishing off with some trim to make them look good. The welded frames are barely visible and the welds are clean so it all looks great.
Once all of the ‘additions’ were done, it was just a matter of painting. I stripped off all of the container markings (except for the metal certification plaques, which look cool), sanded down rough spots, and primed a few knicks. I used a paint sprayer to cover the original container finish, after masking off all of the door hinges and shackles, rubber seals, vents, and the new door and windows. Because I was going to paint to match the house, I decided on a latex final coat. This meant I had to lay down a coat of primer first so the latex would adhere to the container finish. So altogether, I sprayed down three coats—a primer base, and two finish coats. Then all the eaves, fascia, brick mold, and window/door trim by brush. Whew.
The final step was to landscape around the container and enjoy! My wife is an amazing gardener, creating natural landscapes and mini-environments with native plants, so we put in a combination of perennial beds and landscaping mulch to set off the container and also provide some paths for high-traffic areas. It looks really nice!
Viola! Not quite instant with all of these steps over some period of time and the passage of several seasons, but we have a custom shed that has all the features we wanted, it has relieved space in the garage, and it looks like it belongs with the house.
Thank you Super Cubes!